 NEWSLETTER
Visual Studio Code (VSCODE) is a light but powerful source code editor that runs on your desk. It comes with incorporated support for JavaScript, TypeScript and Node.js and has a rich extensions ecosystem for other languages and tools.
table of Contents
- Facility
- First launch and general interface information
- Essential configuration
- Extensions
- Work space configuration
- Keyboard shortcuts
- Integrated terminal
- Source control integration
- Depuration
- Additional resources
Facility
Windows
- Visit the VSCODE download page
- Click the Download Windows button
- Execute the installer (.exe file)
- Follow the installation wizard
- Verify the options for:
- Create a desktop icon
- Add “Open with code” to the Windows Explorer contextual menu
- Record the code as editor for compatible files
Macosa
- Visit the VSCODE download page
- Click the Download Mac button
- Open the .zip downloaded file
- Visual Studio Code.app drag to the application folder
- Optional: Add vScode to your dock
Linux
- Visit the VSCODE download page
- Choose the appropriate package for distribution (.deb, .rpm, etc.)
- For Debian/Ubuntu:

- For Red Hat/Fedora:

First launch and general interface information
When you open vscode for the first time, you will see:
- Welcome page: It contains fast links to common commands and recent projects
- Activity bar: Left side bar with icons for different views:
- Explorer: file browser
- Search: search and replace
- Origin Control: GIT Integration
- Execute and purify: purification panel
- Extensions: Manage extensions
- Status bar: Lower bar that shows information about the current file and editor
- Editor area: Main coding area (you can divide in multiple editors)
- Panel: Lower panel that can show terminal, exit, problems, etc.
Essential configuration
Access configuration by:
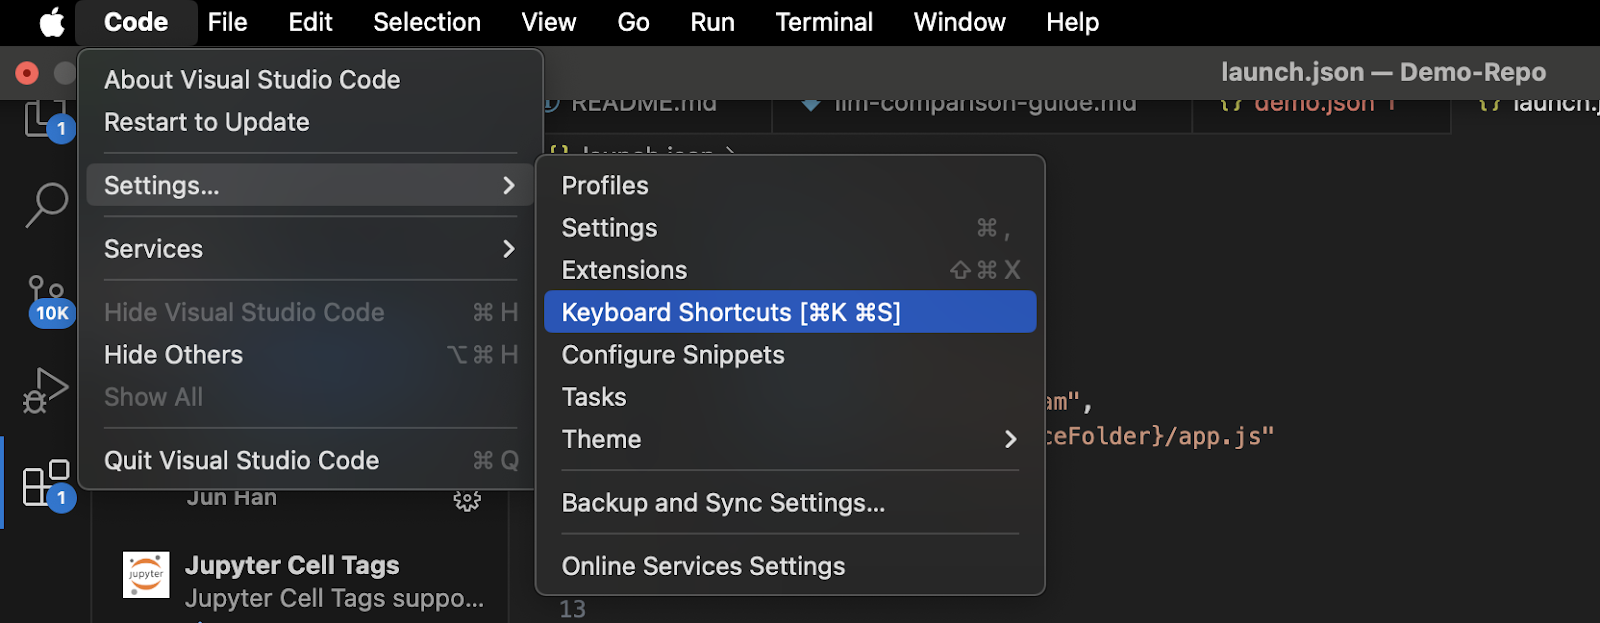
- Windows/Linux: File> Preferences> Configuration
- MacOS: Code> Preferences> Configuration
Recommended configuration to consider:
- Issue:
- File> Preferences> Color topic (or Ctrl+K Ctrl+T)
- Popular Options: Dark+, Light+, Monokai, Solarized
- Fountain:

- Auto Save:

- Tab size:

- Format:

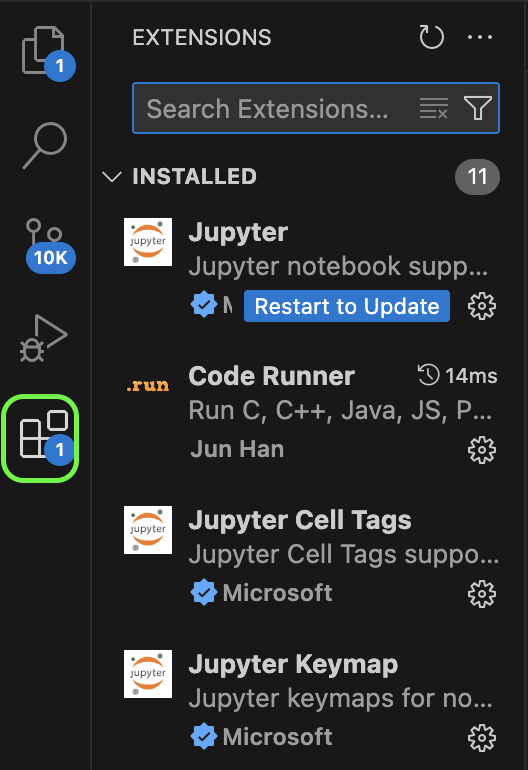
Extensions
VScode's power comes from its extensions. To install extensions:
- Click on the extensions icon in the activity bar (or press Ctrl+Shift+x)
- Search for extensions by name
- Click Install
Essential extensions by category:
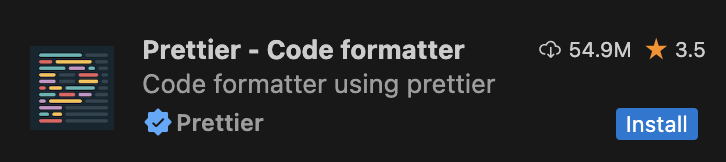
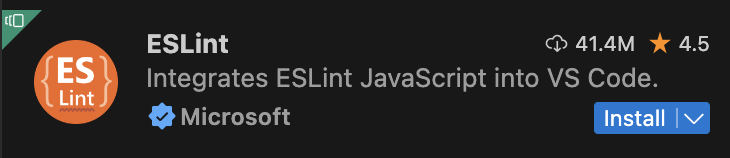
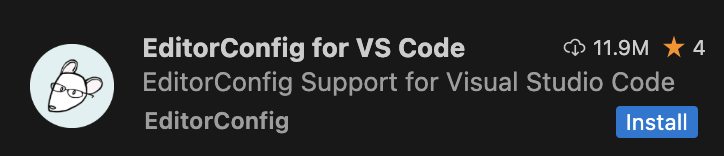
General
- Nice – code formatter: Consistent code format
- ESLINT: Javascript fluff
- Editorconfig: Maintain consistent coding styles
Languages
- Piton: Full Python Support

- C/C ++: C and C ++ Intellisense, purification

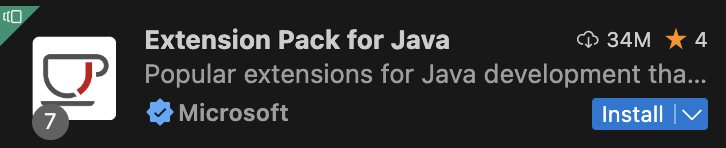
- Java extension package: Java Development Tools
- JavaScript (ES6) Code fragments: Fragments for JavaScript

Topics
- Material topic: Popular theme package

- A Dark Pro: Atom's iconic theme

Productivity
- Gitlens: GIT supercharging capabilities

- Share live: Collaborative edition

- Intellisense path: Autocomplete File Names

Work space configuration
A VSCODE work space represents one or more folders that open in an editor's window.
- Open a folder: File> Open folder (Ctrl+K Ctrl+O)
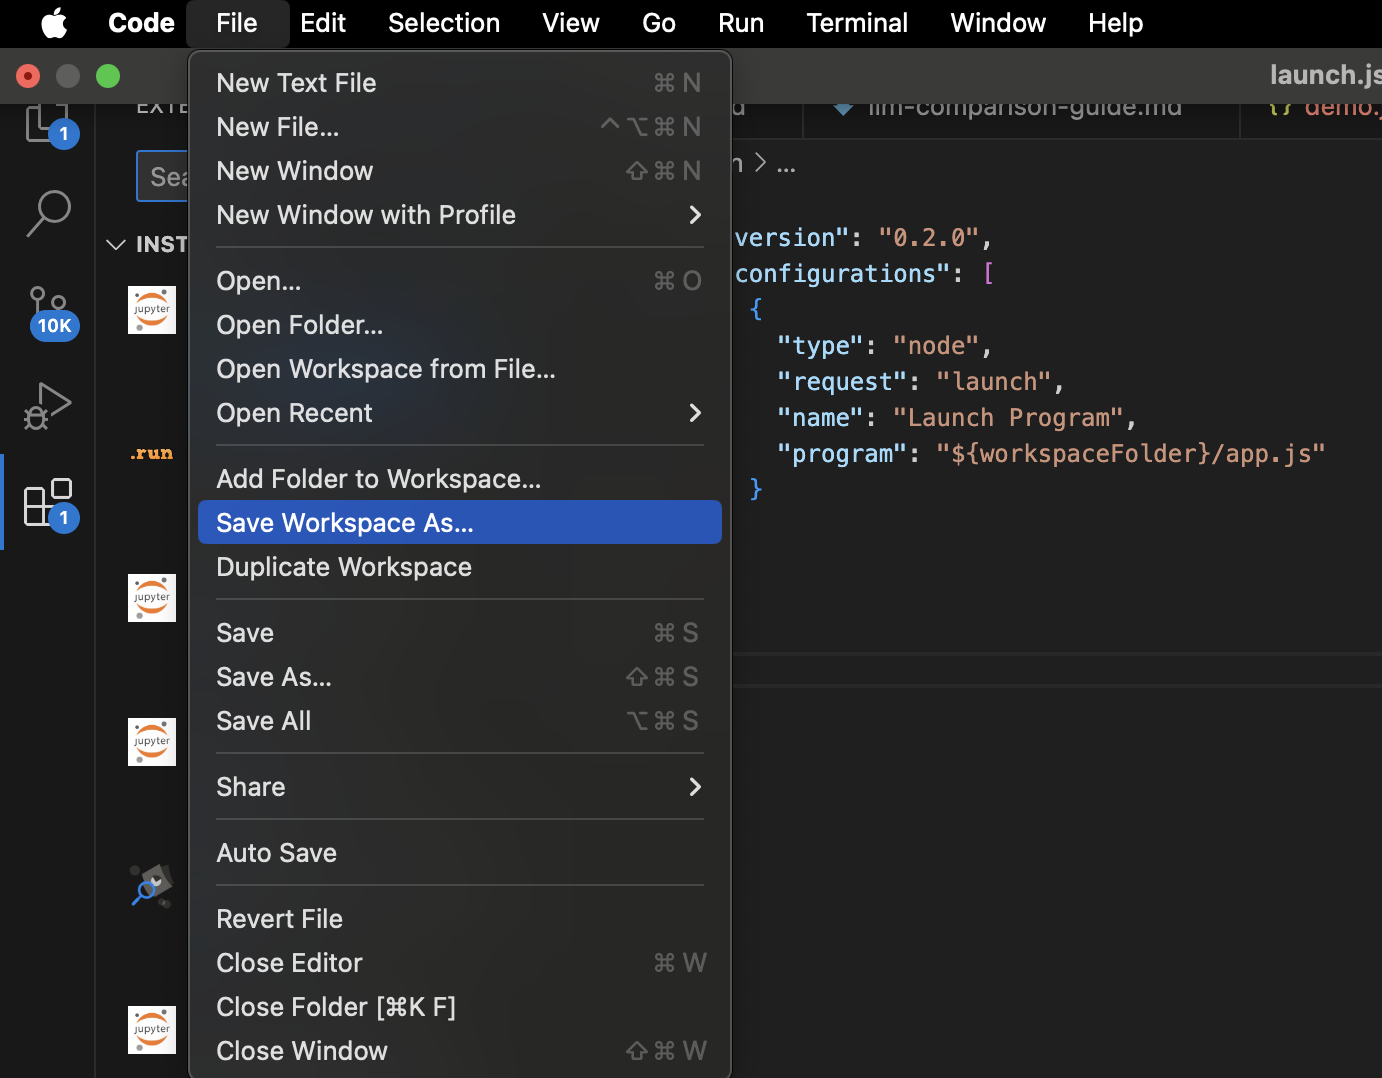
- Save work space: File> Save the work space as …
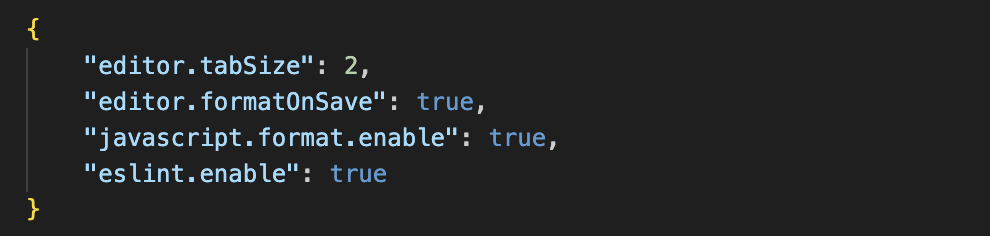
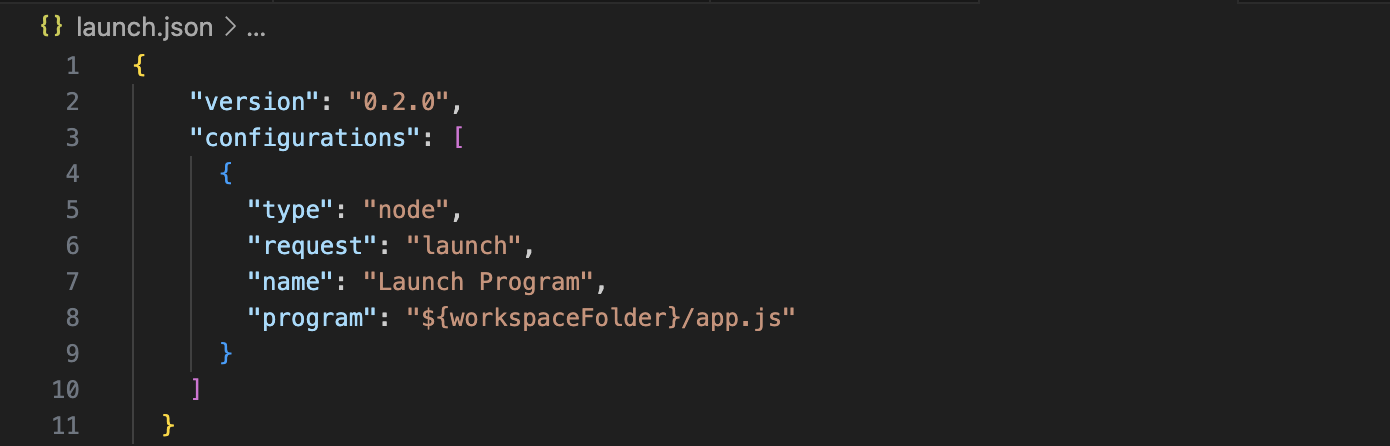
- Work space configuration: Create a .vscode folder in your project with:
- Settings.json: Specific project configuration
- Launch.json: purification configurations
- tasks.json: Build task settings
- Extensions. JSON: Recommended extensions
Configuration example. Json for a Javascript project:
Keyboard shortcuts
VScode has many keyboard shortcuts. Here are the most essential:
- Ctrl+p: Open fast, go to the file
- Ctrl+Shift+p: Show command palette
- Ctrl+Space: Activation suggestion
- F12: Go to definition
- ALT+F12: View definition
- SHIFT+ALT+F.: Format document
- F5: Start debugging
- Ctrl+`: Lever terminal
- Ctrl+b: Lever sidebar
- Ctrl+/: Alternate line comment
- Ctrl+K Ctrl+c: Add line comment
- Ctrl+K Ctrl+U.: Delete the line comment
Integrated terminal
VSCODE includes an integrated terminal:
- Open terminal: See> Terminal
- Multiple terminals: Click the MORE icon
- Change terminals: Use the drop -down menu

Source control integration
VScode has built -in git support:
- Initialize repository: Click on the Origin Control icon and “initialize the repository”
- Stage changes: Click on the + Next to the modified files
- Confirm changes: Enter a message and press CTRL+ENTER
- Push/throw: Use the ellipsis menu (…) for additional git commands
- Visual difference: Click on a modified file to see the changes
Depuration
Configure purification for your project:
- Create a launch configuration:
- Click on the Execute and Curs icon
- Click “Create an Elunch.json file” file
- Select your environment
- Establish interruption points: Click on the gutter next to the line numbers
- Start debugging: Press F5
- Use purification controls: Continue, turn it around, go, go out
- See variables: Add expressions to the clock panel
Additional resources
Nikhil is an internal consultant at Marktechpost. He is looking for a double degree integrated into materials at the Indian Institute of technology, Kharagpur. Nikhil is an ai/ML enthusiast who is always investigating applications in fields such as biomaterials and biomedical sciences. With a solid experience in material science, it is exploring new advances and creating opportunities to contribute.


