Image by author
ChatGPT Next Web, now known as NextChat, is a chatbot application that allows users to access advanced ai models from OpenAI and Google ai. The app is lightweight and packed with features that enhance the user experience.
In this tutorial, we will learn how to acquire the Google ai API for free and generate responses using ChatGPT Next Web. Additionally, we will learn how to use it locally on Windows 11. In the end, we will deploy our own web application to Vercel in less than a minute.
To get the Google ai API key, we have to go to the link ai.google.dev/&sa=D&source=editors&ust=1711739031984064&usg=AOvVaw2AAf3PGuhltqw4s8O3o5Rz” rel=”noopener” target=”_blank”>https://ai.google.dev/ and then click on the blue “Get Google ai Studio API Key” button.
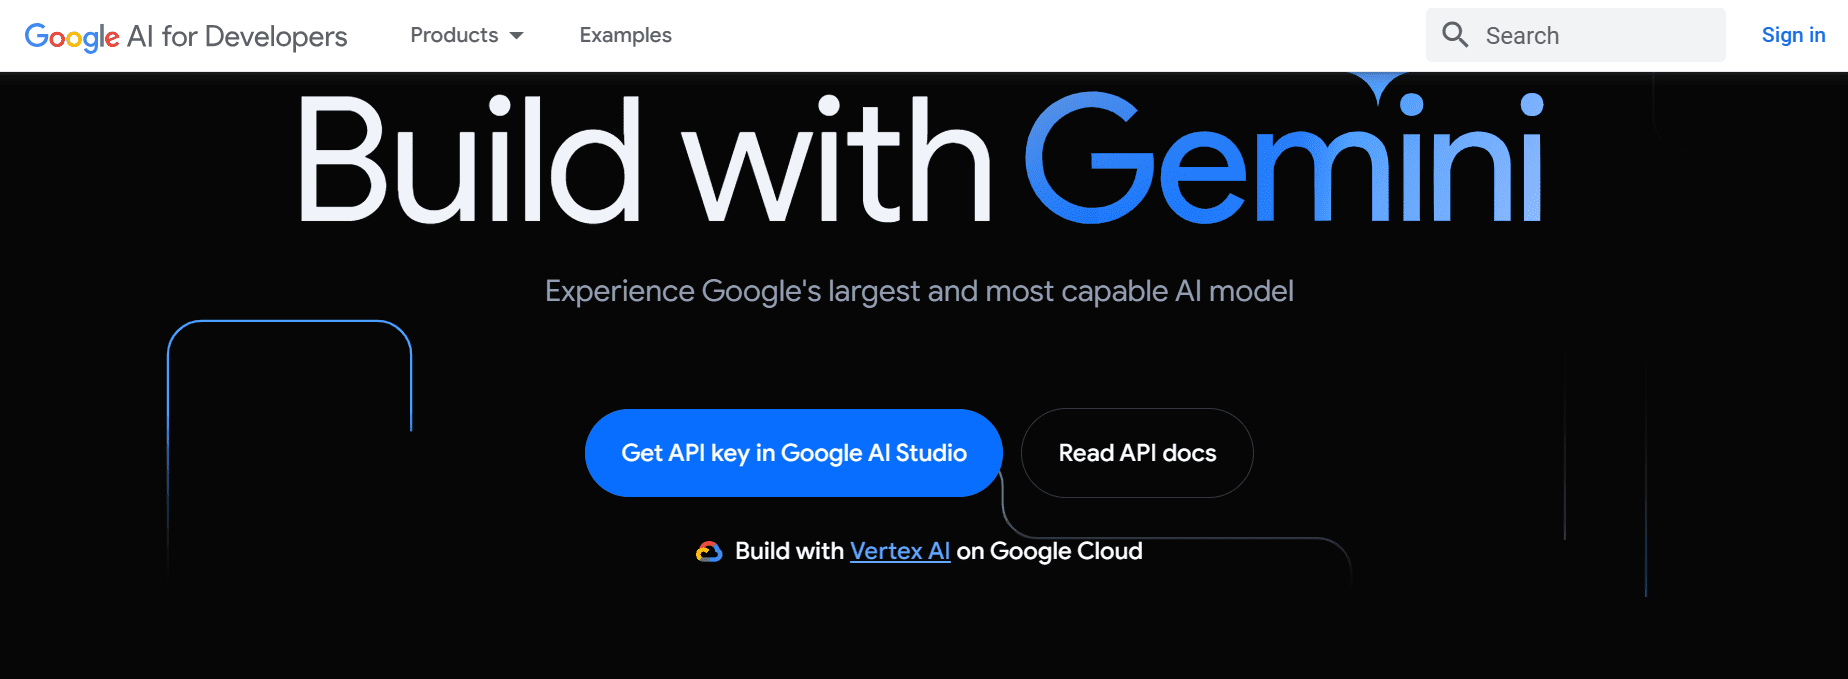

If you are signed in to your Google account, you will be directed to Google ai Studio. From there, click on the “Get API Key” button located on the left panel and then select “Create API Key” to generate the API key.
This key will be used to generate responses in the official web application, locally and in our deployed application.


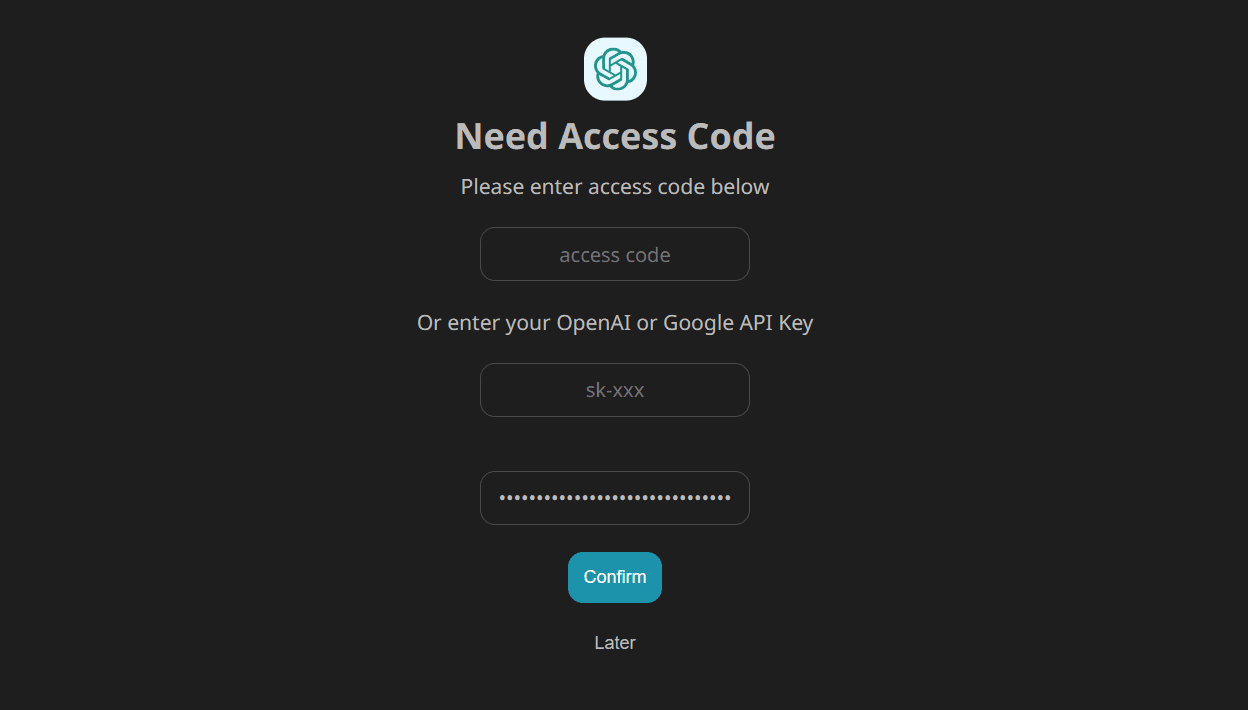
To access the official ChatGPT Next website, go to https://app.nextchat.dev/. It asks us to provide an API key by going to the authentication page.
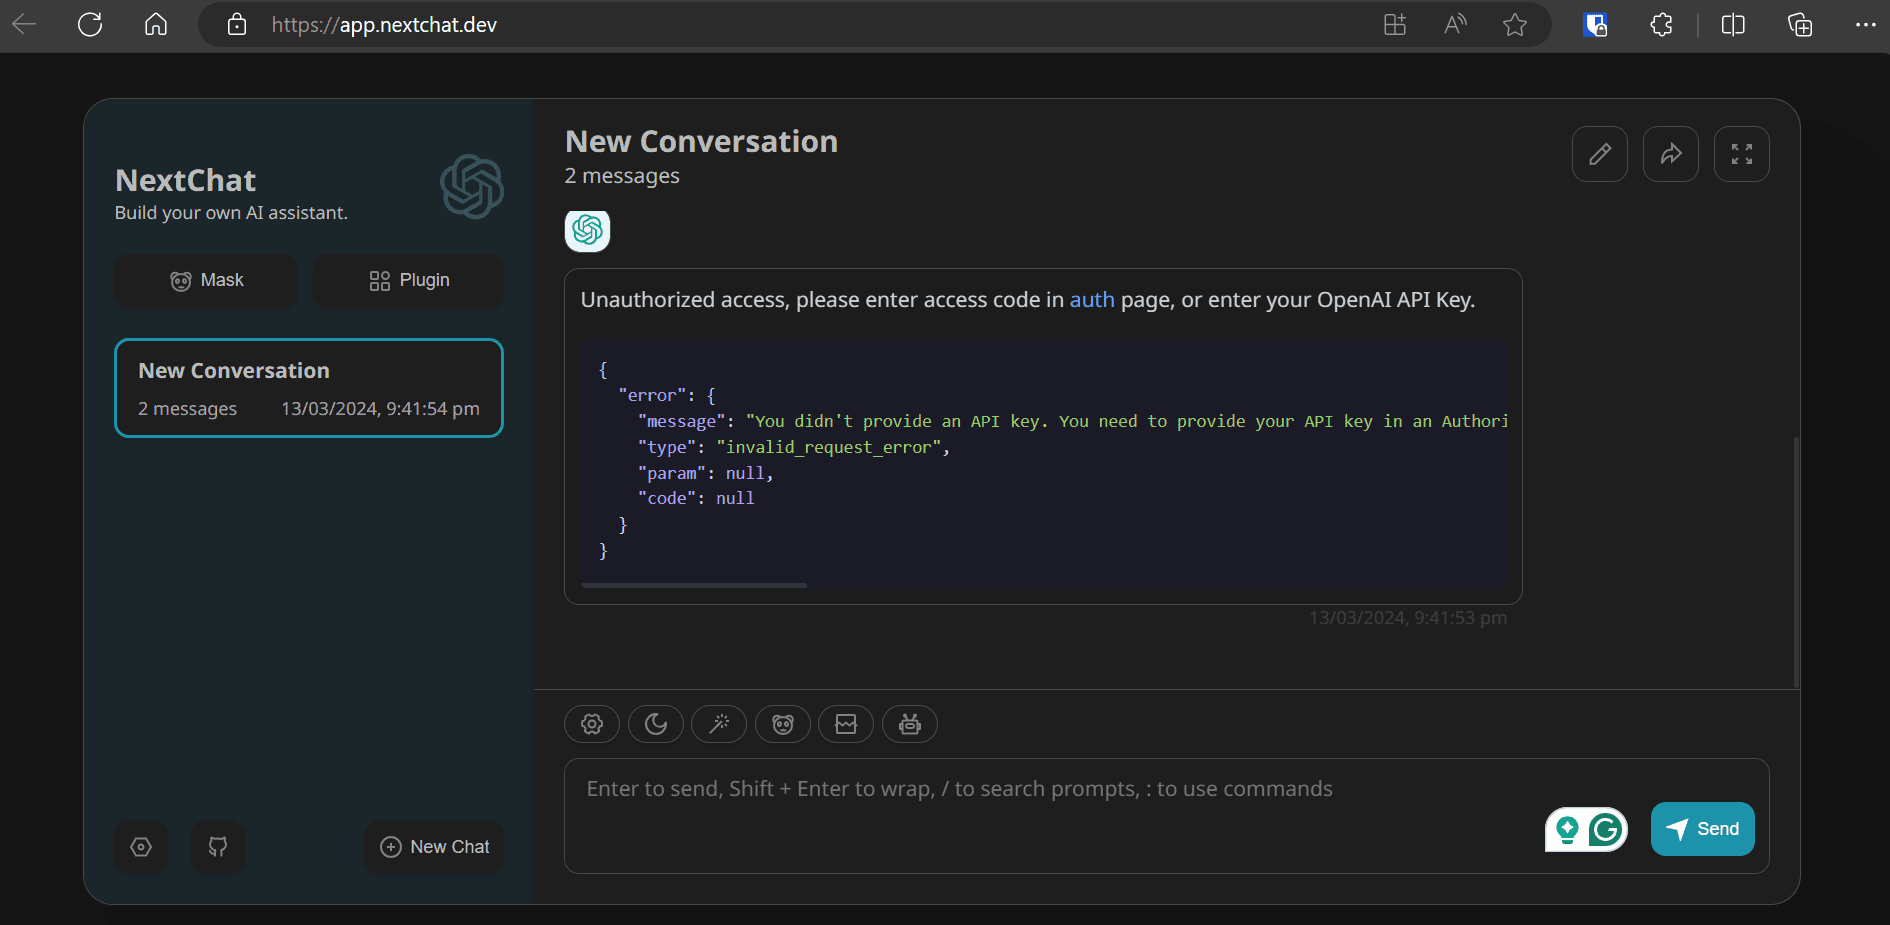

Access the authentication page at https://app.nextchat.dev/#/authEnter the newly created Google ai API key in the third text box and click the “Confirm” button.

Click on the robot () above the message box and select the “gemini-pro” model.


Type your message in the message box and within seconds it will start generating the response. It's fast and fun to use.
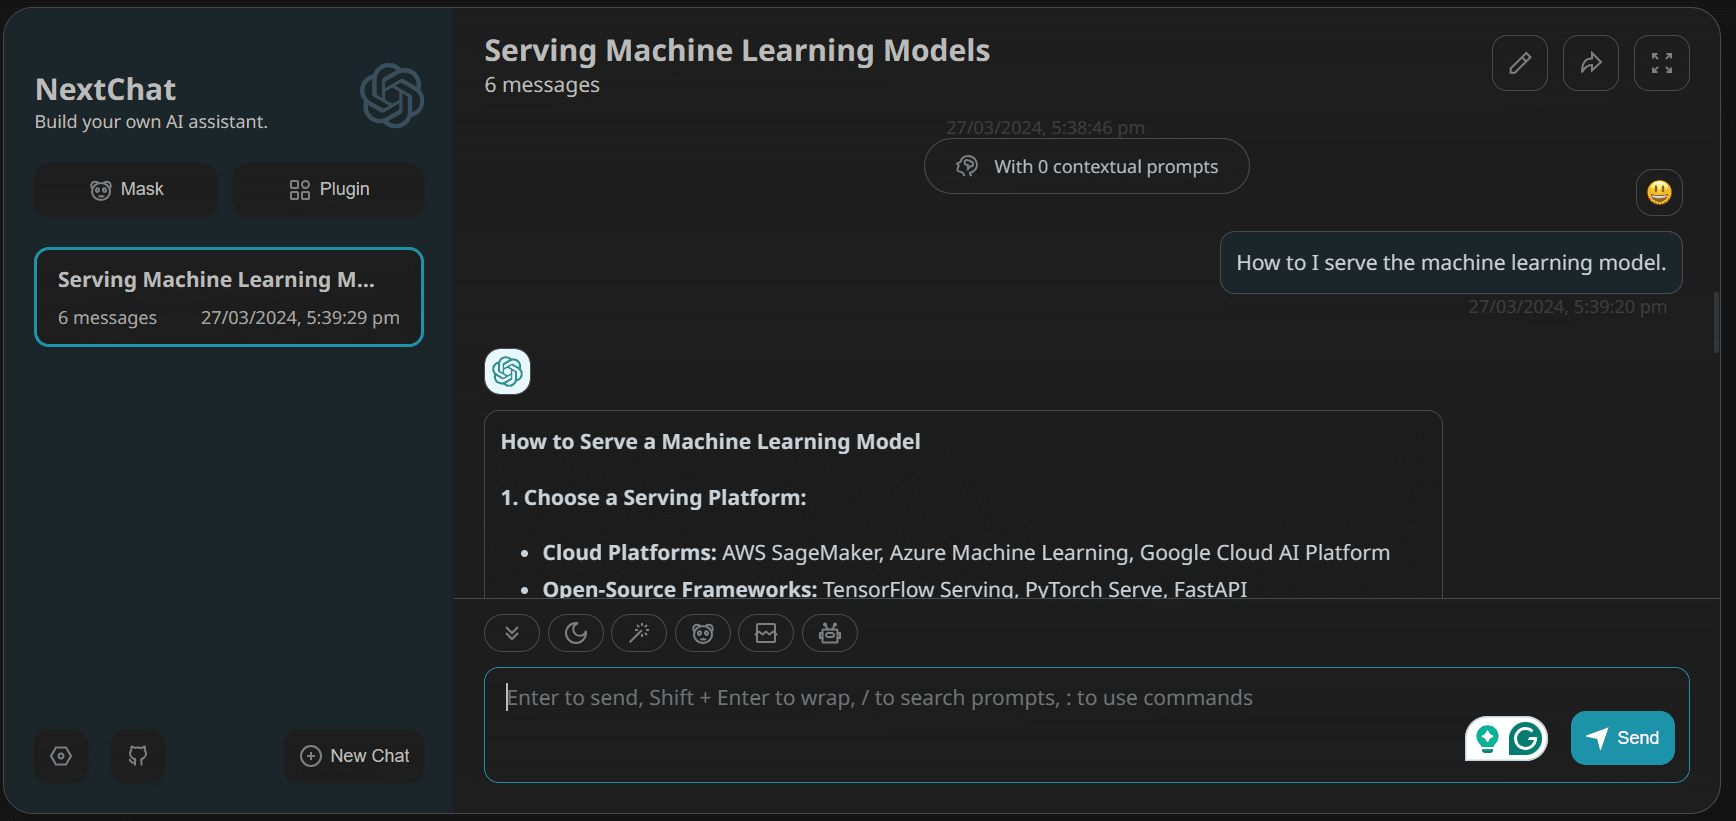

Let's proceed with installing ChatGPT Next Web on your laptop. This application is compatible with Linux, Windows and MacOS.
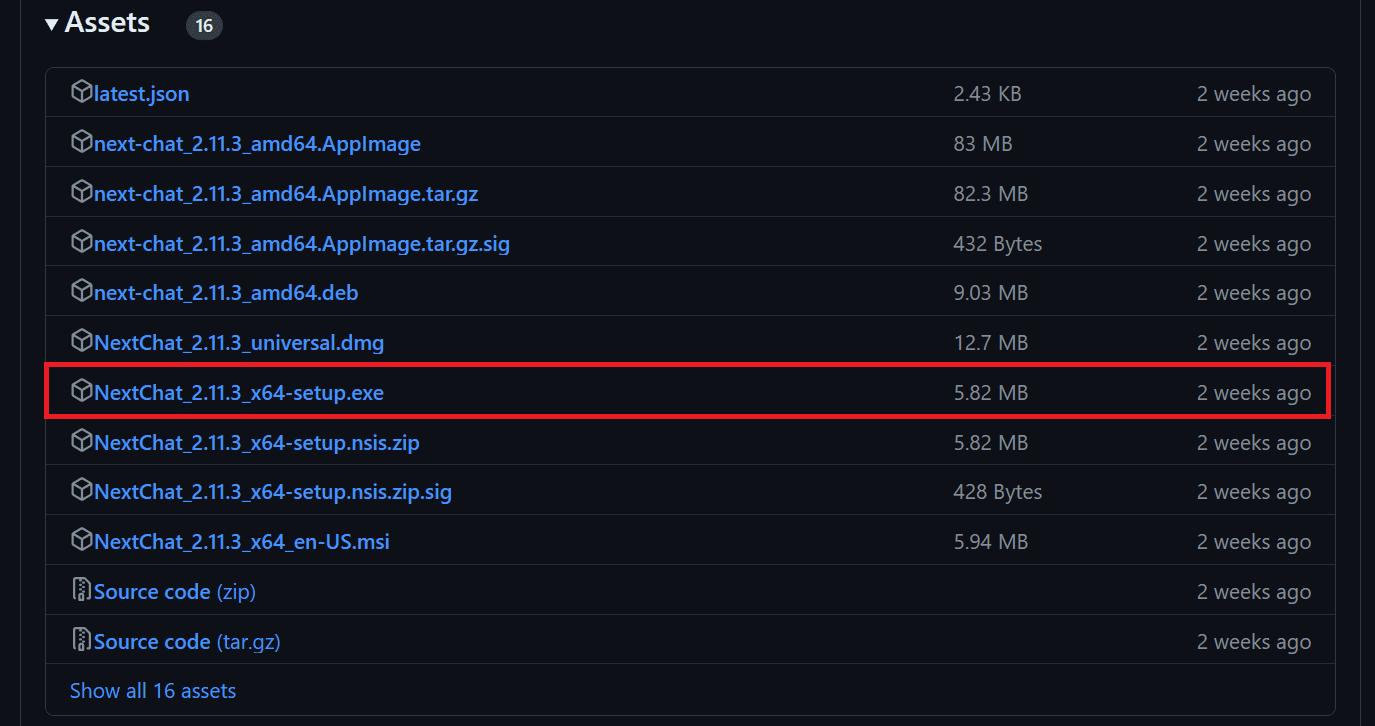
In our case we will visit the following link: https://github.com/ChatGPTNextWeb/ChatGPT-Next-Web/releases and click on the `.exe` file. This will download the application installation file. Once downloaded, install the app with default settings and launch it.

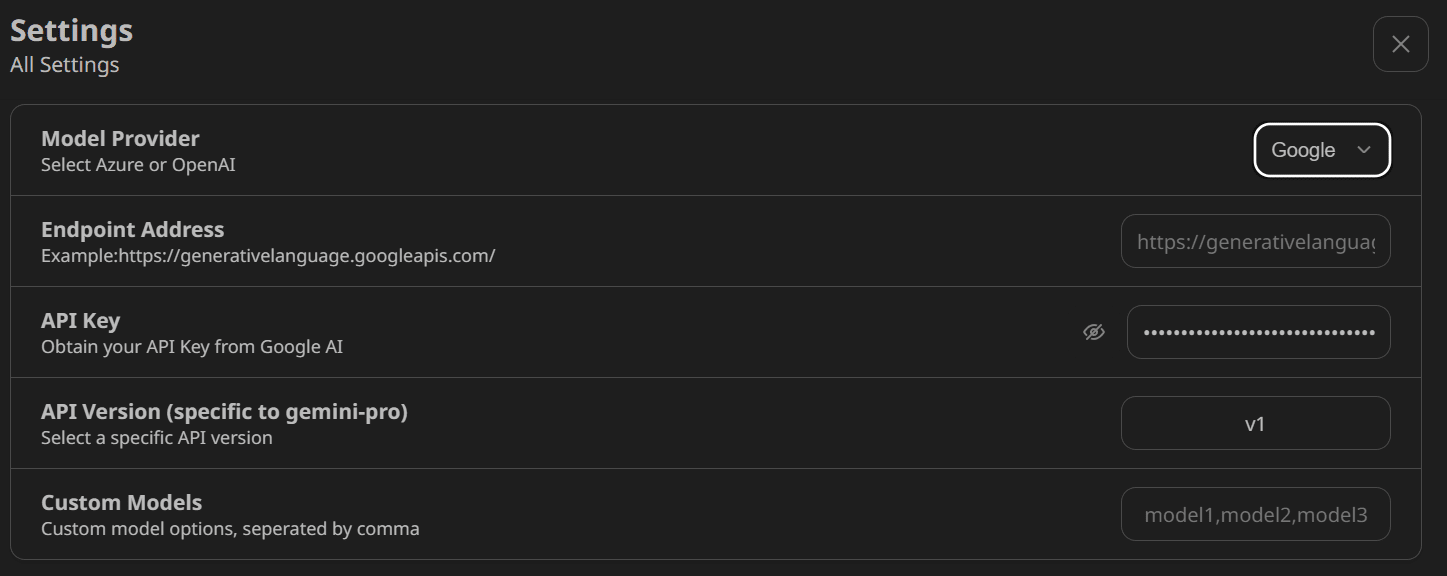
The Windows app does not have an authentication page. Therefore, to configure the Google ai API, we need to navigate to the settings and scroll down to locate the “Model Provider” section. From there, we need to select the correct model provider and provide the API key, as shown below.

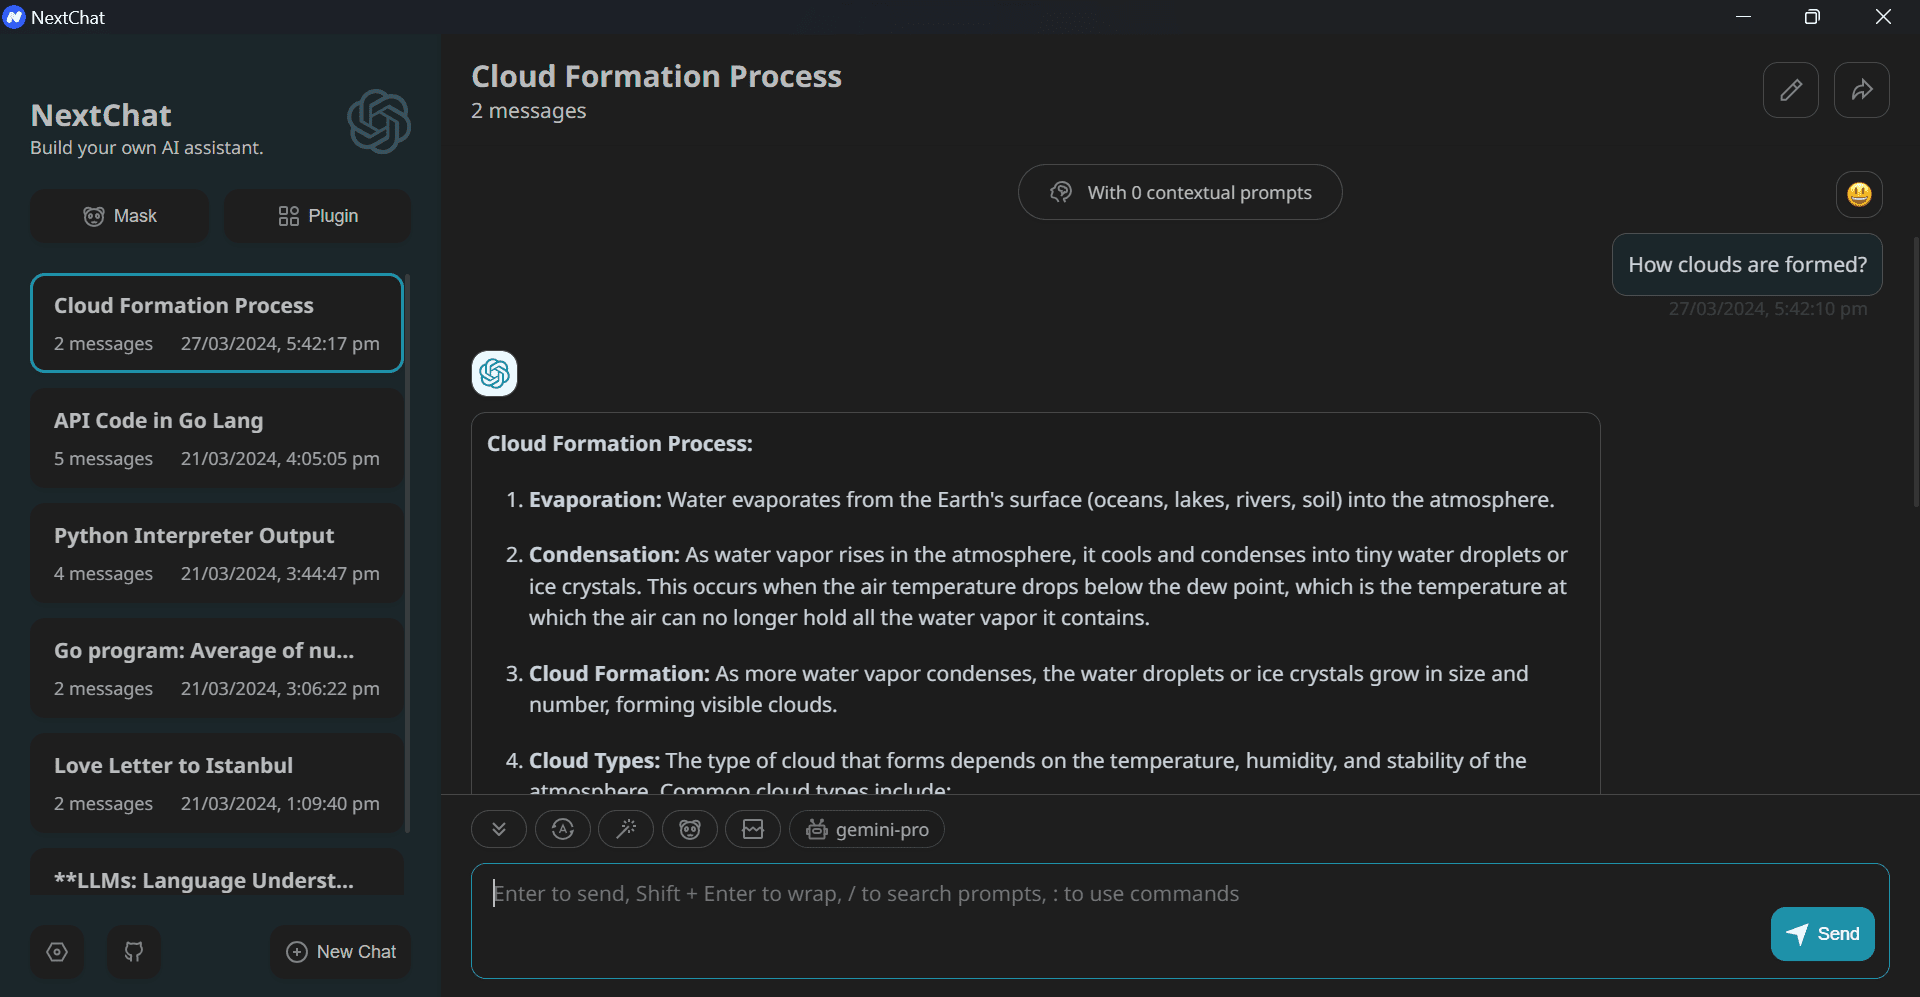
After that, select the “gemini-pro” model and start using the app.

In the last section, we will learn how to deploy our own web application in Vercel. To do this we have to go to the official GitHub repository, ChatGPTNextWeb/ChatGPT-Next-Weband click the “Deploy” button.
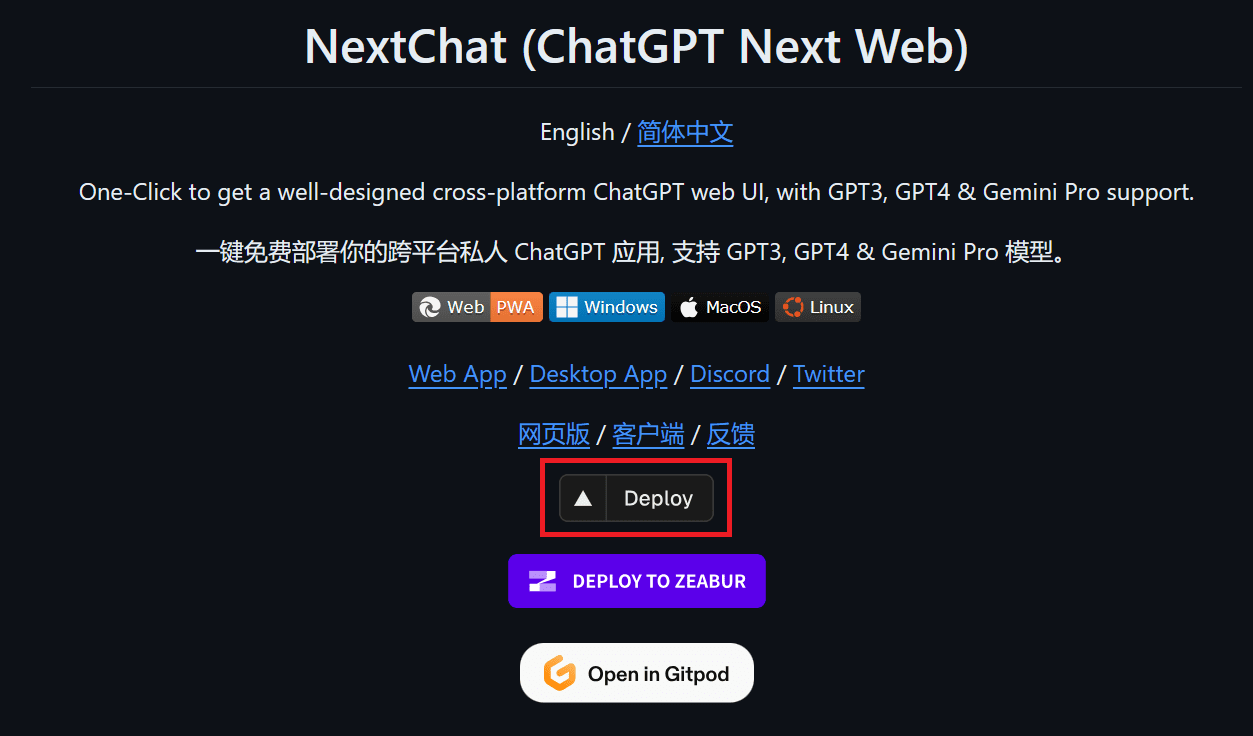

After clicking the link, you will be directed to a new tab. Here you need to register with Vercel and log in to your GitHub account to create a new repository. Follow the simple instructions, press the deploy button and wait for the process to complete.
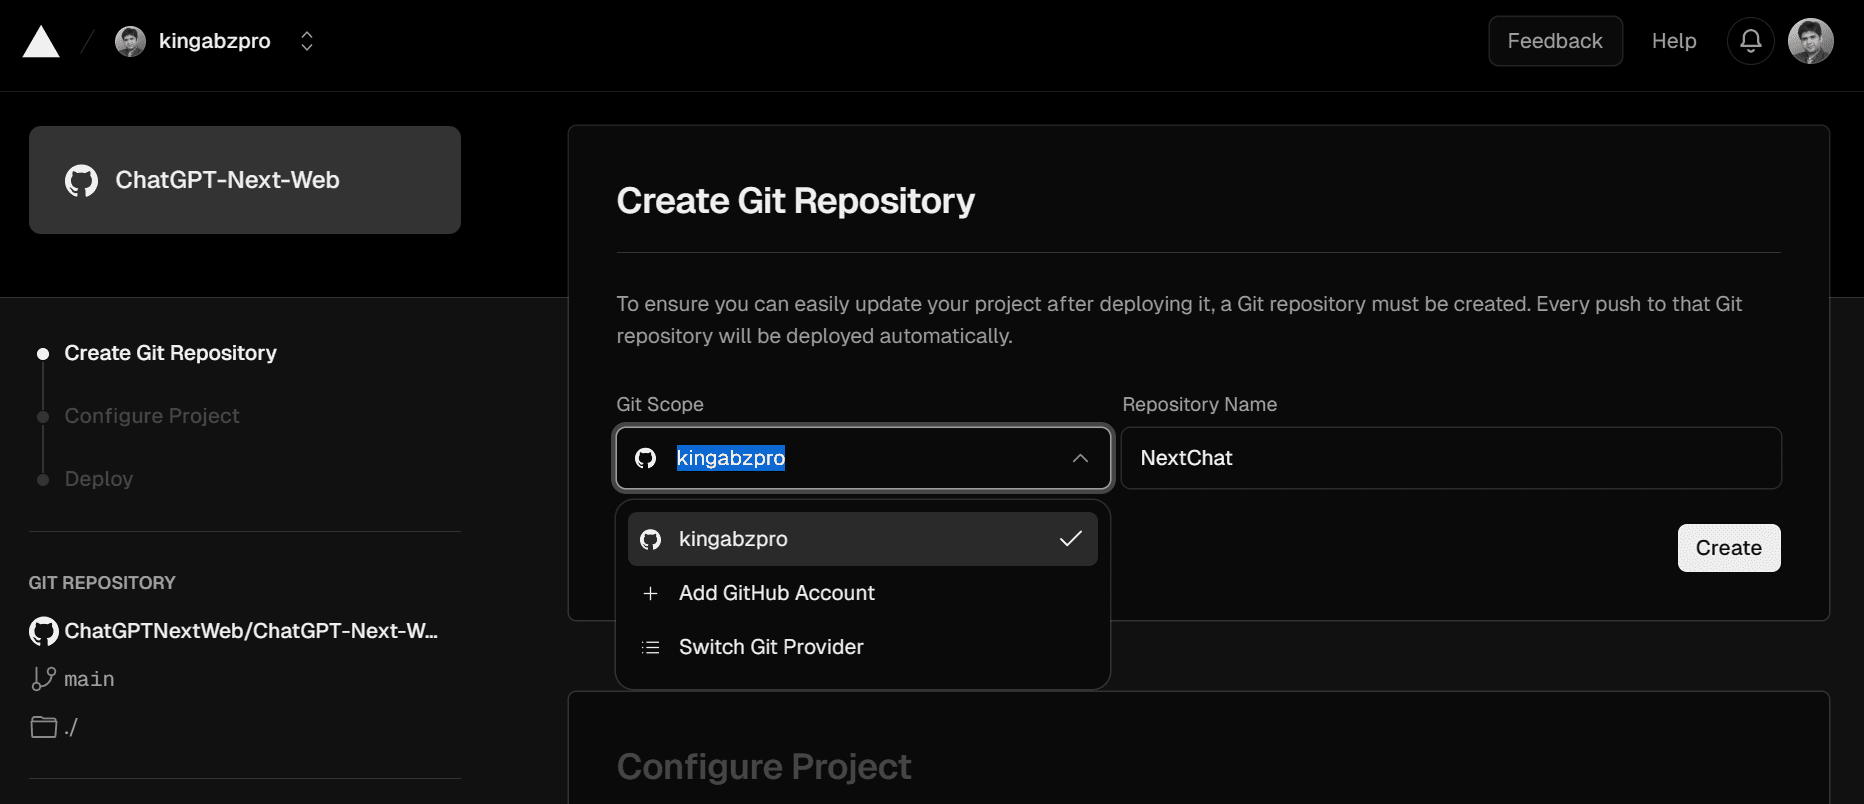

After a few minutes, the deployment will finish and you will receive the URL of your web application.
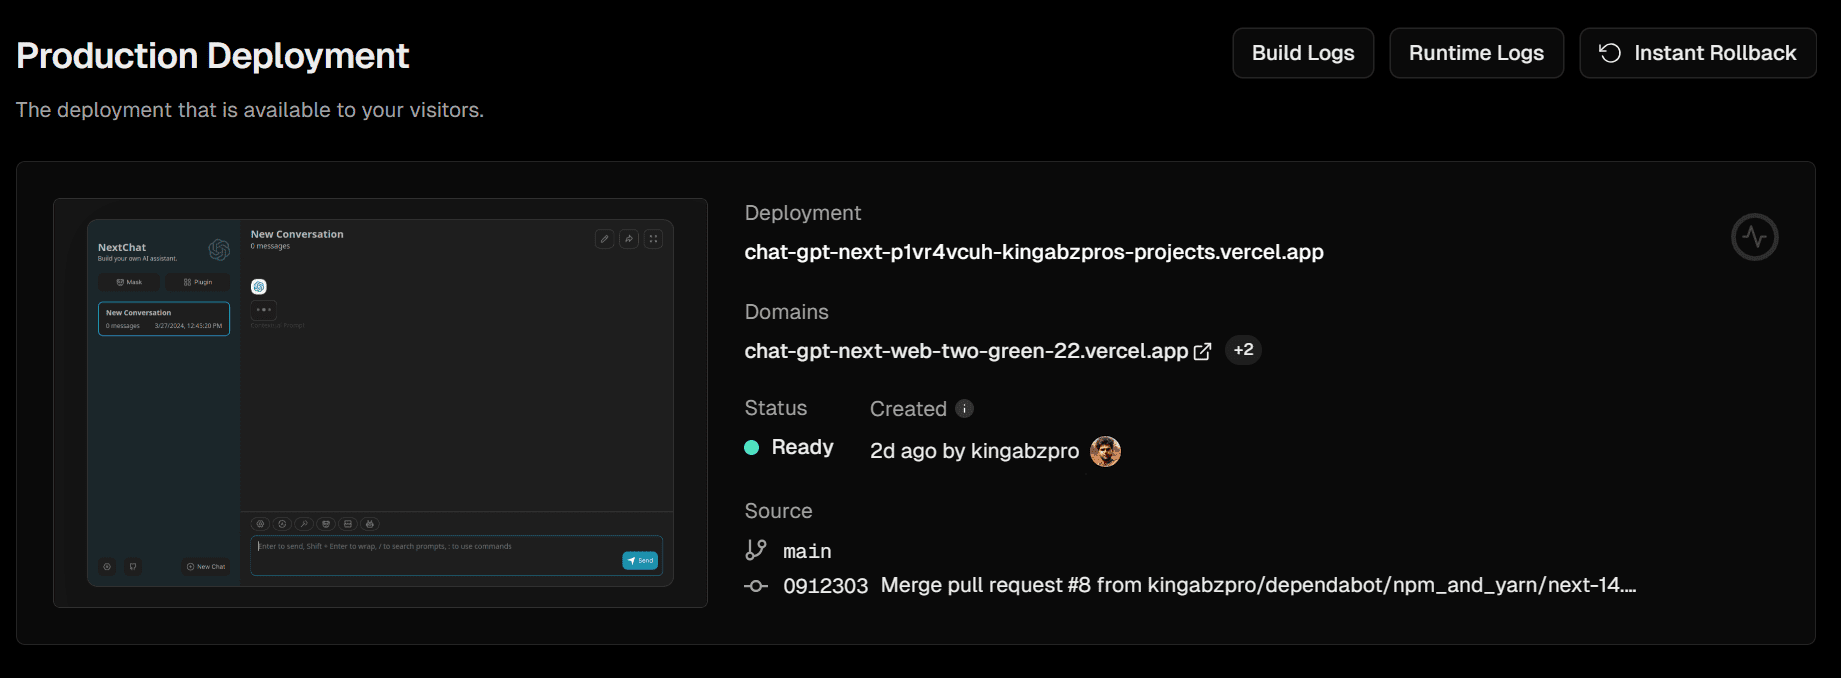

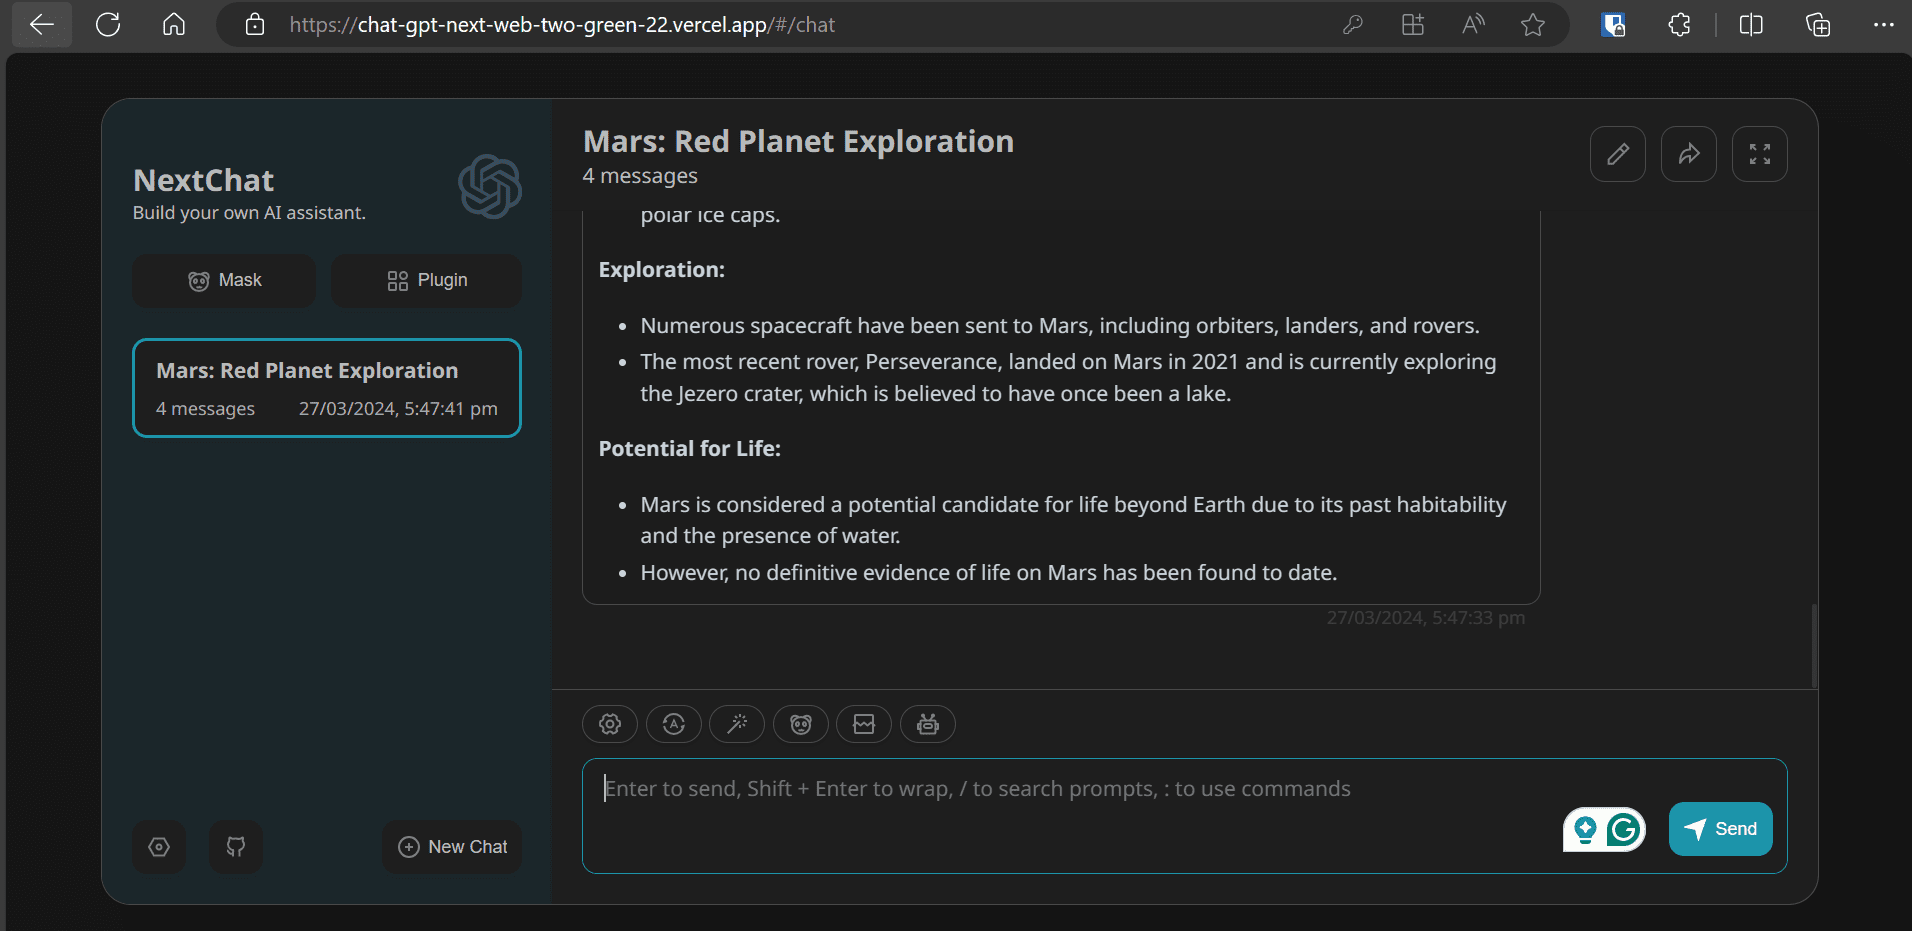
To access the web application implemented by Vercel, visit https://chat-gpt-next-web-two-green-22.vercel.app/. I find NextChat to be smoother than Bard or ChatGPT.

I've been using ChatGPT Next Web for a while, with an OpenAI API key. Even though it's a paid API, my monthly usage only costs about $0.3. Instead of paying $20 for ChatGPT Pro, I can access top-of-the-line models at a fraction of the cost, with a better user interface. If you're using Gemini Pro, it's even better because it's free for everyone.
If you are still not sure how to use this app, follow my guide and use it for a week to explore its various features. I'm sure you'll change your mind, just like I did.
Abid Ali Awan (@1abidaliawan) is a certified professional data scientist who loves building machine learning models. Currently, he focuses on content creation and writing technical blogs on data science and machine learning technologies. Abid has a master's degree in technology management and a bachelor's degree in telecommunications engineering. His vision is to build an artificial intelligence product using a graph neural network for students struggling with mental illness.
 NEWSLETTER


